Teacher's Assistants

How do you handle classroom jobs in your classroom? 

I used to have a job for every student in my classroom. But, I always forgot who did what and got tired of referencing my job chart to find out. When we were out of the classroom, I never could remember who was in charge of what. No more!

Now, I have 2 teacher’s assistants per day and they literally do ALL of the jobs that day. This method has really worked for me and has simplified managing student jobs. Everyone gets a turn at doing everything and I don’t have to keep track of which students have held certain jobs or not. Plus, I don’t have to dedicate as much wall space in my room for this simple little chart versus the entire bulletin board my former job chart took up.

Each day I have a boy and girl assistant. They are my line leaders, take lunch money to the café, return library books, pass out papers, EVERYTHING! They love being “in charge” for the day and I love not having the hassle of assigning jobs and keeping track of who is supposed to be doing things.


I put my Teacher's Assistants chart on TPT if you are ready to ditch your old system and simplify like I did!  There are 4 different borders to choose from: 


Included in this packet are number cards and choice of 6 different color charts. Please check out the preview to see color choices. Each chart has a black & white border.

**Please note that the magnetic border shown in the photographs is obviously not included. However, I wanted to show you how I hang mine in my own classroom.


Simply print out the chart and number cards, laminate, and hang.  I punched holes in the top of my number cards and hang them from a magnetic hook.  You'll want to assign each student a number.  You may be like me and use student numbers for other things such as student mailboxes or desks.  You're all set!


If you have any questions, I'd be happy to answer them.  Leave me a comment below!

Thanks for stopping by!

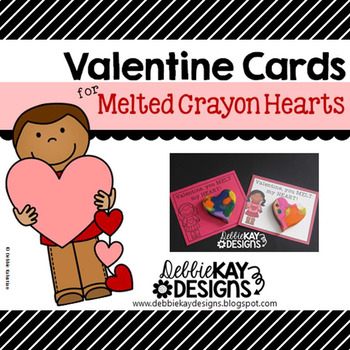
Melted Crayon Heart Valentines

Still need a Valentine idea for your class this year?  Here is what I am doing for my kiddos. 

I'm sure you've seen these around.  I got the idea from Pinterest a couple of years back.  In the past I've simply put them in a cellophane bag; however this year, I wanted to do something different.  So, I whipped up these cards.  The crayon heart attaches to them with a few dots of hot glue.

Here are the instructions to make these:
1.  Gather all the broken and old crayons from your class.  For me, this is simple because at the beginning of each new year I swap out my students old crayons for a brand new box, then I set the old broken crayons aside for this Valentines Day project.

2.  Peel off the paper.  This is the tedious part.  Grab a beverage and something good on T.V. and peel away.  Some wrappers come off easily and some don't.  I have found that what works best for me is to use a small utility knife and cut a slit down the length of each crayon.  The wrapper will peel right off.


3.  Put crayons into a silicone mold.  These are pretty easy to find this time of year with the seasonal baking supplies.


4.  Heat oven to 200 - 250 degrees.  Place silicone mold onto a cookie sheet and place in oven.  Heat until melted, about 15 min.

5.  Be careful taking out of oven.  Try not to mix up the colors.  You want to be able to see each individual color.  (Unless, of course, a more solid color is the effect you're going for.)  Let cool.  Hint:  Once the was has solidified enough for me to move it, I place the mold in the freezer to cool it quicker.

6.  Carefully pop out the heart-shaped crayons and attached to a card front using a few drops of hot glue or strong double-sided tape.

How to prepare cards:
1.  You can purchase my cards here.
Valentine Cards for Melted Crayon Hearts

2.  You can either print out color copies onto white card stock, or use the blackline masters to print onto colored card stock.  Your choice!


3.  Cut out cards.  There are four cards on each sheet.


Enjoy!  I hope this helps someone else out there with putting together a last-minute fun idea for your classroom Valentines.

Pumpkin STEM

It IS still pumpkin season, right?  You wouldn't know by all the Christmas décor already in stores.  As for me, I'm going to savor the beauty of fall until Thanksgiving!

These are photos of our Pumpkin STEM Challenge.  I have an investigation station set up in my room.  A place where students can investigate and manipulate and learn.  A couple of weeks ago, I gave my students a STEM challenge to build a gate that can hold five little pumpkins.  The "Five Little Pumpkins" was our poem for the week to go along with this.

The only supplies given were connecting cubes and popsicle sticks.  The challenge was to be able to get all five pumpkins onto your structure.


The first group was able to build a "gate" to hold 2 pumpkins.  They posted this on our Seesaw Class feed for other students to see what they did, comment, and think about what they would do to improve upon the design.  Could they build one to fit all 5 pumpkins?
The next group built this structure, posted it on Seesaw, and other students could comment and view.  These students didn't really build a structure, rather they just laid the materials on the table and stacked pumpkins on top of it...  well, only 4 pumpkins would fit.  Again, I asked the students how we could take what the first two groups did and improve.
The next group built their structure up and got those pumpkins raised; however the feedback they received after posting their work to Seesaw was that the structures were individual, not connected.  And, once again, not all 5 pumpkins were on it.
The last group built this structure and were able to get all 5 pumpkins onto the gate.  We all agreed this was the most successful design.

This was a great learning experience and lots of fun for the kids.  Critical thinking, constructive criticism, receiving feedback, were all skills we learned from this challenge.

It's not too late... it's still officially fall and pumpkin season!  Get your Pumpkin STEM Challenge on!

1st Day of.....

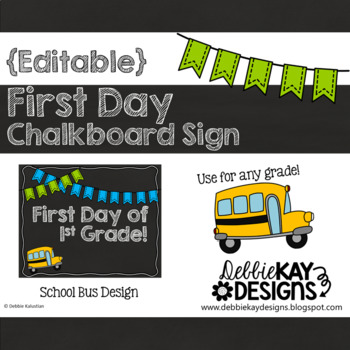
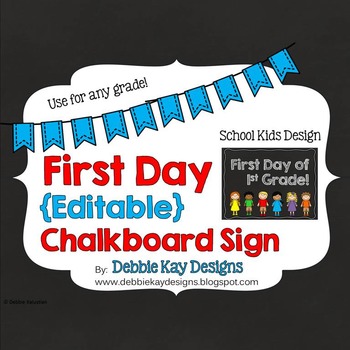
Hey guys!  Don't forget to pick up your 1st Day of School EDITABLE Chalkboard Sign.  Now you can take those adorable 1st day of school photos of your students holding this cute little sign.


Simply print and either put into a simple frame, or create your own!

Snag yours during the TPT Best Year Ever Sale for 28% off using the code "BESTYEAR".  Guys this means you can have it for like $1.44, if I've done my math right!

SHOP HERE!

Did I mention it's EDITABLE?!  You can easily change it to reflect the year you're teaching. 
Kindergarten
1st-12th Grade
Homeschool
Preschool
whatever you want or need!

Oh, and there's 2 designs to choose from:
First Day of School Editable Chalkboard Sign Bus
School Bus Design

First Day of School Editable Chalkboard Sign Kids
Kids Design

Get yours quick... today is the last day of the TPT sale!

Back to School TPT Sale!!!

It's coming!  The Teachers Pay Teachers sitewide back to school sale is coming Monday, August 1st and Tuesday August 2nd.

NOW is the time to purchase all those TPT resources on your back to school list.  If you're like me, you're adding things to your cart in anticipation of the big sale!

Be sure to visit my store where everything will be up to 28% off using the PROMO CODEBestYear.

Shop here!  Thanks for checking out my resources for your back to school needs!

Sight Words Books

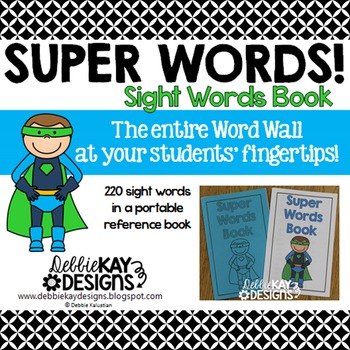
New in my series of coordinating Super Words resources... Super Words Books!!  In my class we refer to sight words as Super Words, because once you know them, you have reading power!  So, Super Words Books are really sight words books.


 This year, I'm not going to use a word wall.  I know!  I can almost hear you gasp at the very thought.  I've been blogging about some of the changes I am making to my classroom for the coming year, many of which are inspired by the direction my school district is going.  There is much discussion about what should and shouldn't be posted on the walls of our classrooms.

What I'm going to try this year is to use a small chart to display the 6 Super Words I am introducing each week, plus the 6 we learned last week.  Each week I will rotate them out and add new words.  Now, usually, I would staple these to our word wall, but this year we will use these Super Words Books to refer to when we need help spelling a sight word.


I'm actually excited about it for a few reasons. 
1.  No more stapling up words each week and taking all 220 down in May.  Yippee!
2.  I think it's difficult for my students to see the wall from every vantage point in the room.  I often see them straining their necks or eyes to see the words up on the wall.  Having a booklet right in front of them will help with this.
3. Looking up words in the book will help us learn ABC order.
4.  This one is my favorite... Now students will have access to all 220 Dolch sight words from day one.  They won't have to wait until it's been introduced and stapled on the wall to have access to it.

I have included two covers to choose from:  a full color version and a blackline version which can be printed onto colored paper or card stock.  Assembly directions are included in the packet for easy printing and stapling.


Now my students - and yours - can have the entire word wall (220 Dolch sight words) at their fingertips starting on the first day of school!

You can check out the product preview by clicking on the link below...  Thanks so much!
Sight Words Reference Book
Super Words Book

New Pennant Sets!!

If you're like me, you're dreaming of what your classroom décor and setup will be like for back to school.  Are you getting ready yet?  Pinning ideas?

If you are, you know that pennants are a fun way to top your bulletin boards and this year I've designed some new pennant sets I know you will love as much as I do!

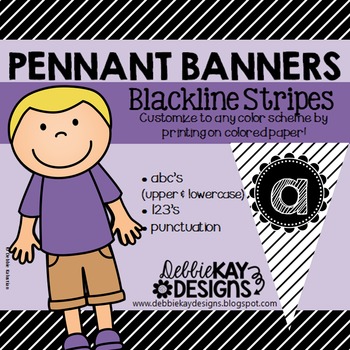
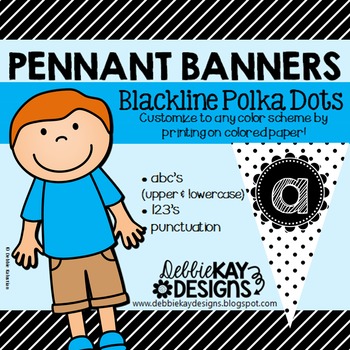
Introducing my Blackline Pennant Sets!  Blackline sets are designed in black & white so that you can print them out onto any color paper or card stock you desire.

Now you can print onto multiple color papers to create a variety of colors, or match your classroom décor or theme!

Blackline Pennants are now available in Stripes and Polka Dots.  They include letters A-Z and a-z (upper & lower case), numbers 0-9, and 8 symbols (exclamation mark, question mark, period, apostrophe, ampersand, hyphen, hashtag, and @.


Have fun creating customized banners for your classroom!  I even use banners for my home décor during the holidays!

Click on the links below to check out the product previews.
Pennant Banners - Blackline Stripes

Pennant Banners - Blackline Polka Dots

To view all my other Pennant Sets, click here.

Have a Super Saturday!