Showing posts with label Parent Gifts. Show all posts

Mother's Day Project

There are so many great ideas out there for Mothers Day, so I combined a few and came up with this!


These were fairly simple to create.  First, take a brown paper bag and fold it in half.  I stapled the edge to make a "binding". I've seen many paper bag books with ribbon tied to create the binding; however, I went simple!  Then, I found the pages for kids to decorate from The Memorable Teacher.  It was a FREEBIE!  Woot!


I chose 4 pages from the packet and pre-cut the squares out.  Students wrote and colored and used glue sticks to adhere them.  This created the front and back covers and inside.


I chose to keep the opening of the bag toward the bottom of the booklet.  We created a fun picture card to insert into the bag opening.  We took pictures of the kids outside, edited them, then attached to card stock.  I cut out circles with a circle punch to create the little tab to pull the picture out of the slot.  This creates a fun little surprise for mom to find!


Now, on to the keychains.  Aren't these adorable?!  I got this idea from Simply Kinder.  They are created with Shrinky Dink sheets and Sharpie markers!  It took me a little while to perfect cooking them, but after I got the hang of it, it was pretty easy.  Hint:  The shorter the length, the better, as they will curl up in the oven and begin to stick together.

Make these shrink film keepsake keychains with your students using Shrinky-Dink paper! We share how on Simply Kinder.

I used a small circle punch in the corner of the bag book and looped ball chain through.  I opted to use ball chain instead of the keychains shown above.  I knew I wanted to attach them to the bag books.  I ordered these on Amazon in 3" length.


Voila!  I think our moms are going to love these!

Parent Gifts

We completed our gifts for parents today!  This is the first year that I've made these cute little snowman votives and I LOVE the way they turned out!  Each snowman has its own little personality.
I found the votives for just 77 cents at WalMart.  Before we began this project, I used a blue sharpie to write each student's name and the year on each votive.

To make these, I poured a little white craft paint on a paper plate.  You can get this at WalMart.  Students used their thumb to make two thumbprints for the snowman.  We let these dry overnight.
 The next day, we used these painters pens to paint on the eyes, nose, mouth, buttons, and stick arms.  These were extremely easy to use, just make sure you explain to the kids that it is paint and not to smear it.  We didn't have any mistakes at all... a very simple project for my 1st graders.
I picked up these painters at WalMart when I got the votives.  I think they were like $1.96 each and they come in lots of colors.

That's it!  We let those dry, put in a tealight candle, and they were ready to wrap.
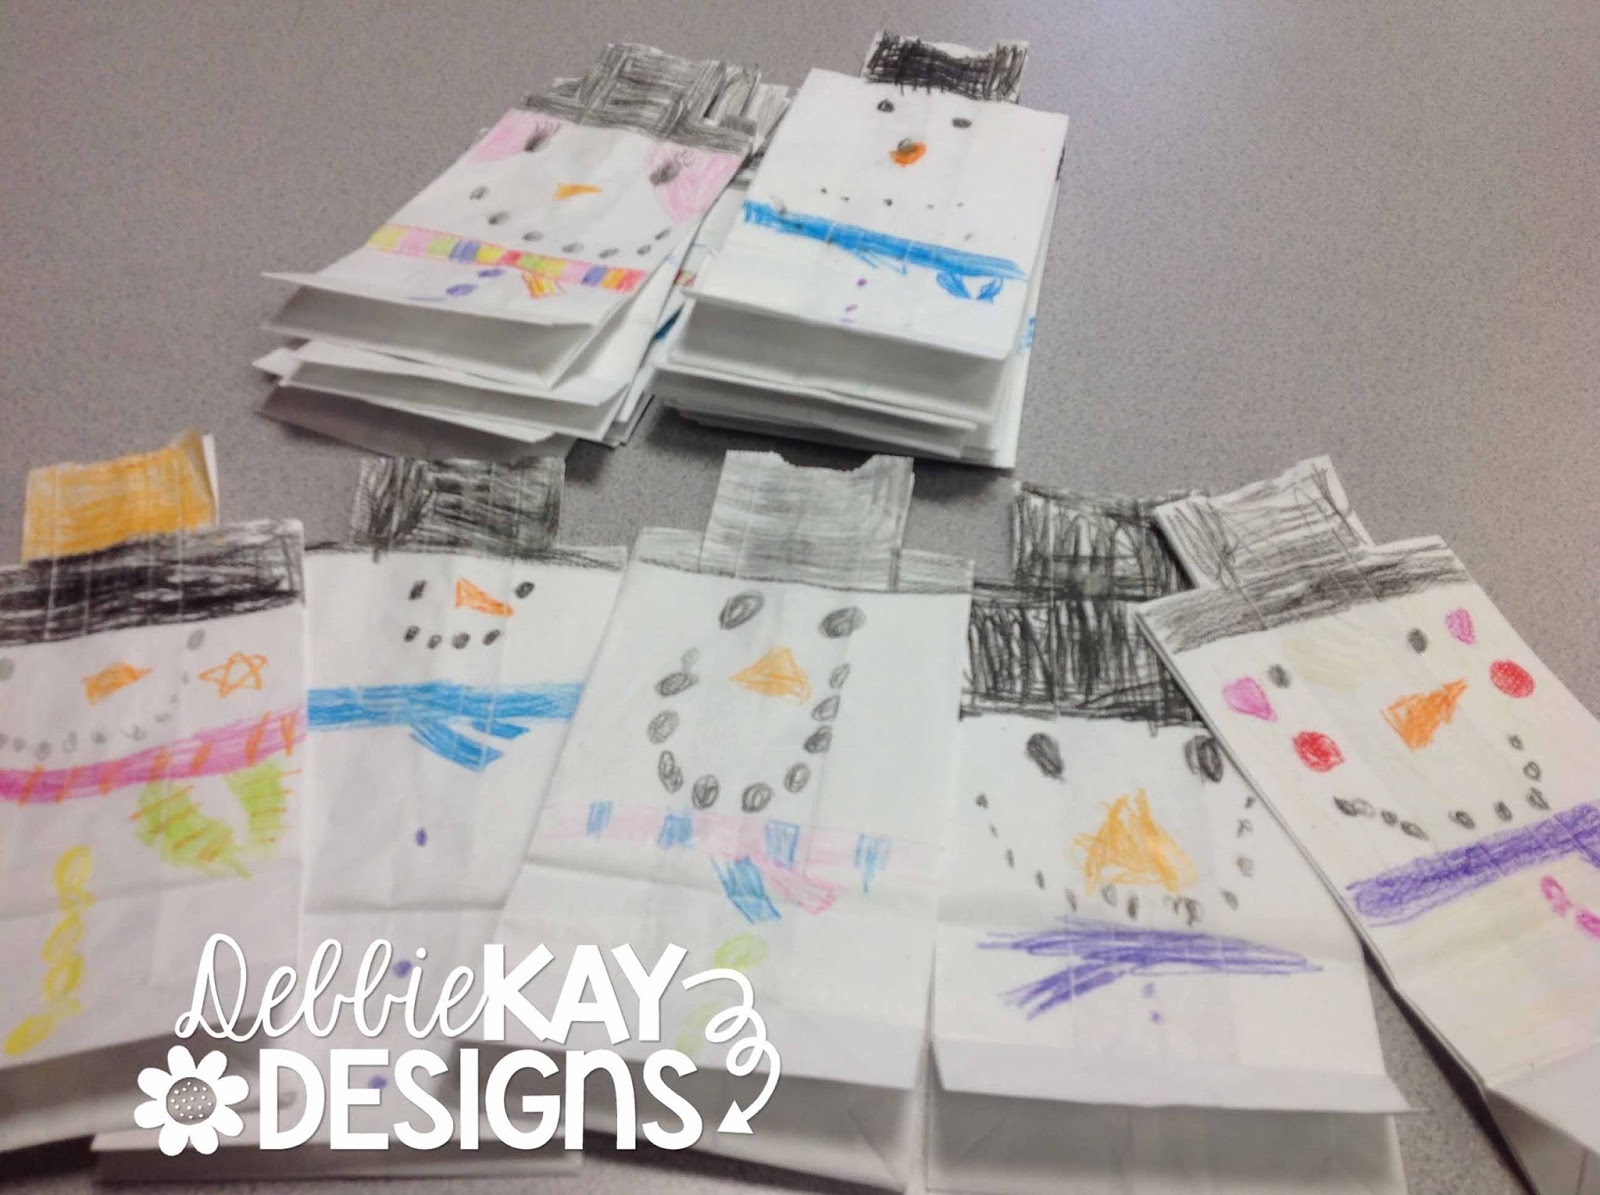
To wrap these, we colored white paper bags to look like snowmen.  Want to take a guess where I picked up the white paper bags?  You guessed it... WalMart.  One stop shopping for this project, people!

Beforehand, I cut out the corners from the bags so that the top could be colored like a hat.  Then, the kids got creative in coloring them and wrote their "To" and "From" on the other side.

We wrapped our votives in tissue paper, put them in the bags, and that's it.  Done and done!

I will definitely be replicating this little gift next year.  Probably the cutest, fastest, easiest gift I've done with my kiddos to date.

I hope you can use this idea, if not this year, then someday!

Thanks for stopping by!